
Now that I’ve gotten my fermentation chamber functional, it’s time to move onto sand casting. This was yet another project that got delayed due to my move last year.
In the past I built a furnace for melting metal. If you’d like to see that, it’s posted here. Hard to believe that was over 3 years ago that I built the furnace and haven’t done an actual sand casting. Well, I’m finally ready to tackle my first one.
As with most of my projects, please note my disclaimer, especially on this one. I’ve never done this before and I’m using knowledge from Youtube and the internet. I’m a beginner and by no means and expert. Don’t follow my advice without consulting other expert sources.
Some Definitions
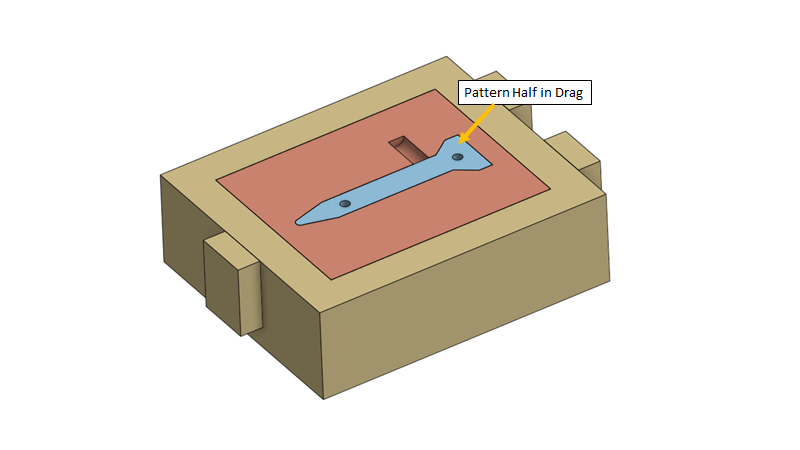
It gets a little confusing with some of the terms, so below are some labeled pictures I made.
- Flask: Holds the packed sand with the void left by the pattern. It’s combined from the cope (top) and drag (bottom)
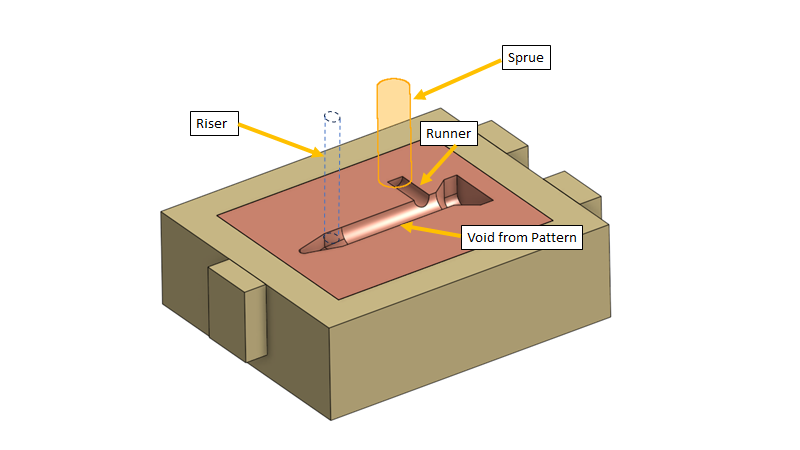
- Sprue: The channel from the top of the flask where the molten metal is poured
- Pattern: This is what forms the void on the inside of the flask. It’s usually a little bigger than the finished part as molten metal shrinks slightly when it solidifies
- Runner: Part of the sprue which is a path towards the pattern void
- Riser: Another channel that can be added for molten metal to flow though. It can be used as a visual reference for the pour to know when the void is completely filled with metal. Additionally it can provide additional metal to prevent shrinking features in the pattern void.

Planning
Since my first casting is likely to be a lot of trial and error, I figured I’d start with something relatively simple. I also figured I’d try and use some of the beer can aluminum I’d melted, as I’ve now accumulated a good amount. I don’t know how well it’ll turn out, I know beer can aluminum isn’t the best for casting. I think going forward I’ll take the money I get from recycling and just save up for decent casting ingots. That or else I need to start visiting the junkyard.
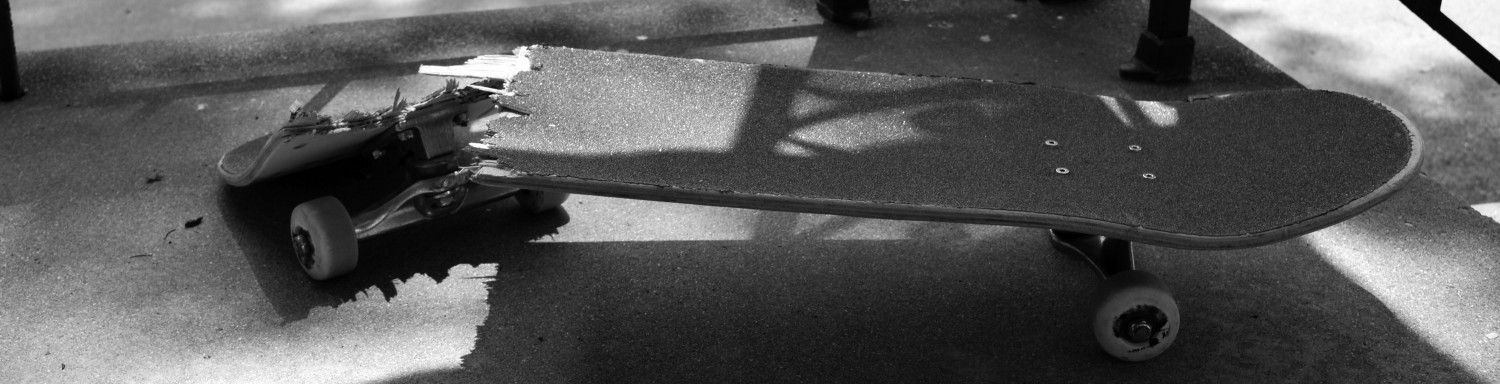
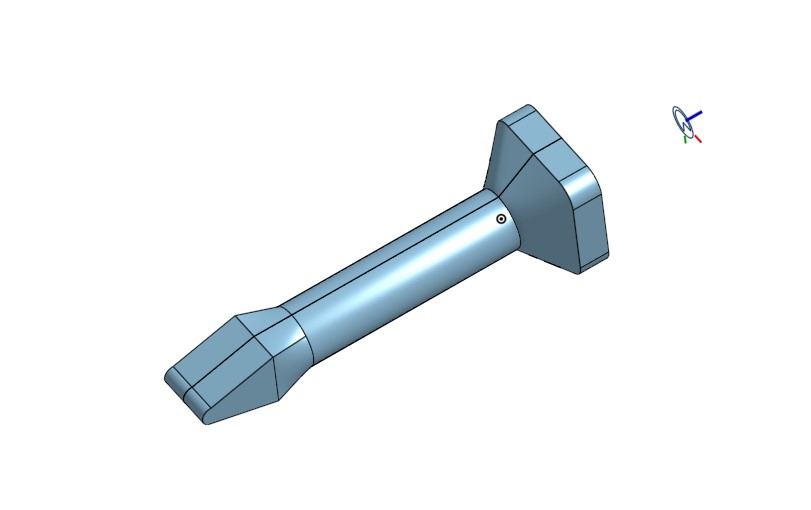
I decided to make a tamping hammer for my first casting. I figure if I’m doing more of this in the future, I need a decent tool to tamp the sand down. For this first casting I’ll just use a piece of 2×4, but future sand tamping will be a little easier
To make this work, I had to plan out the casting flask as well. I planned out the general shape as shown below. I had a spare 2×6, not sure what I bought it for, but I figured I’d use it for this.


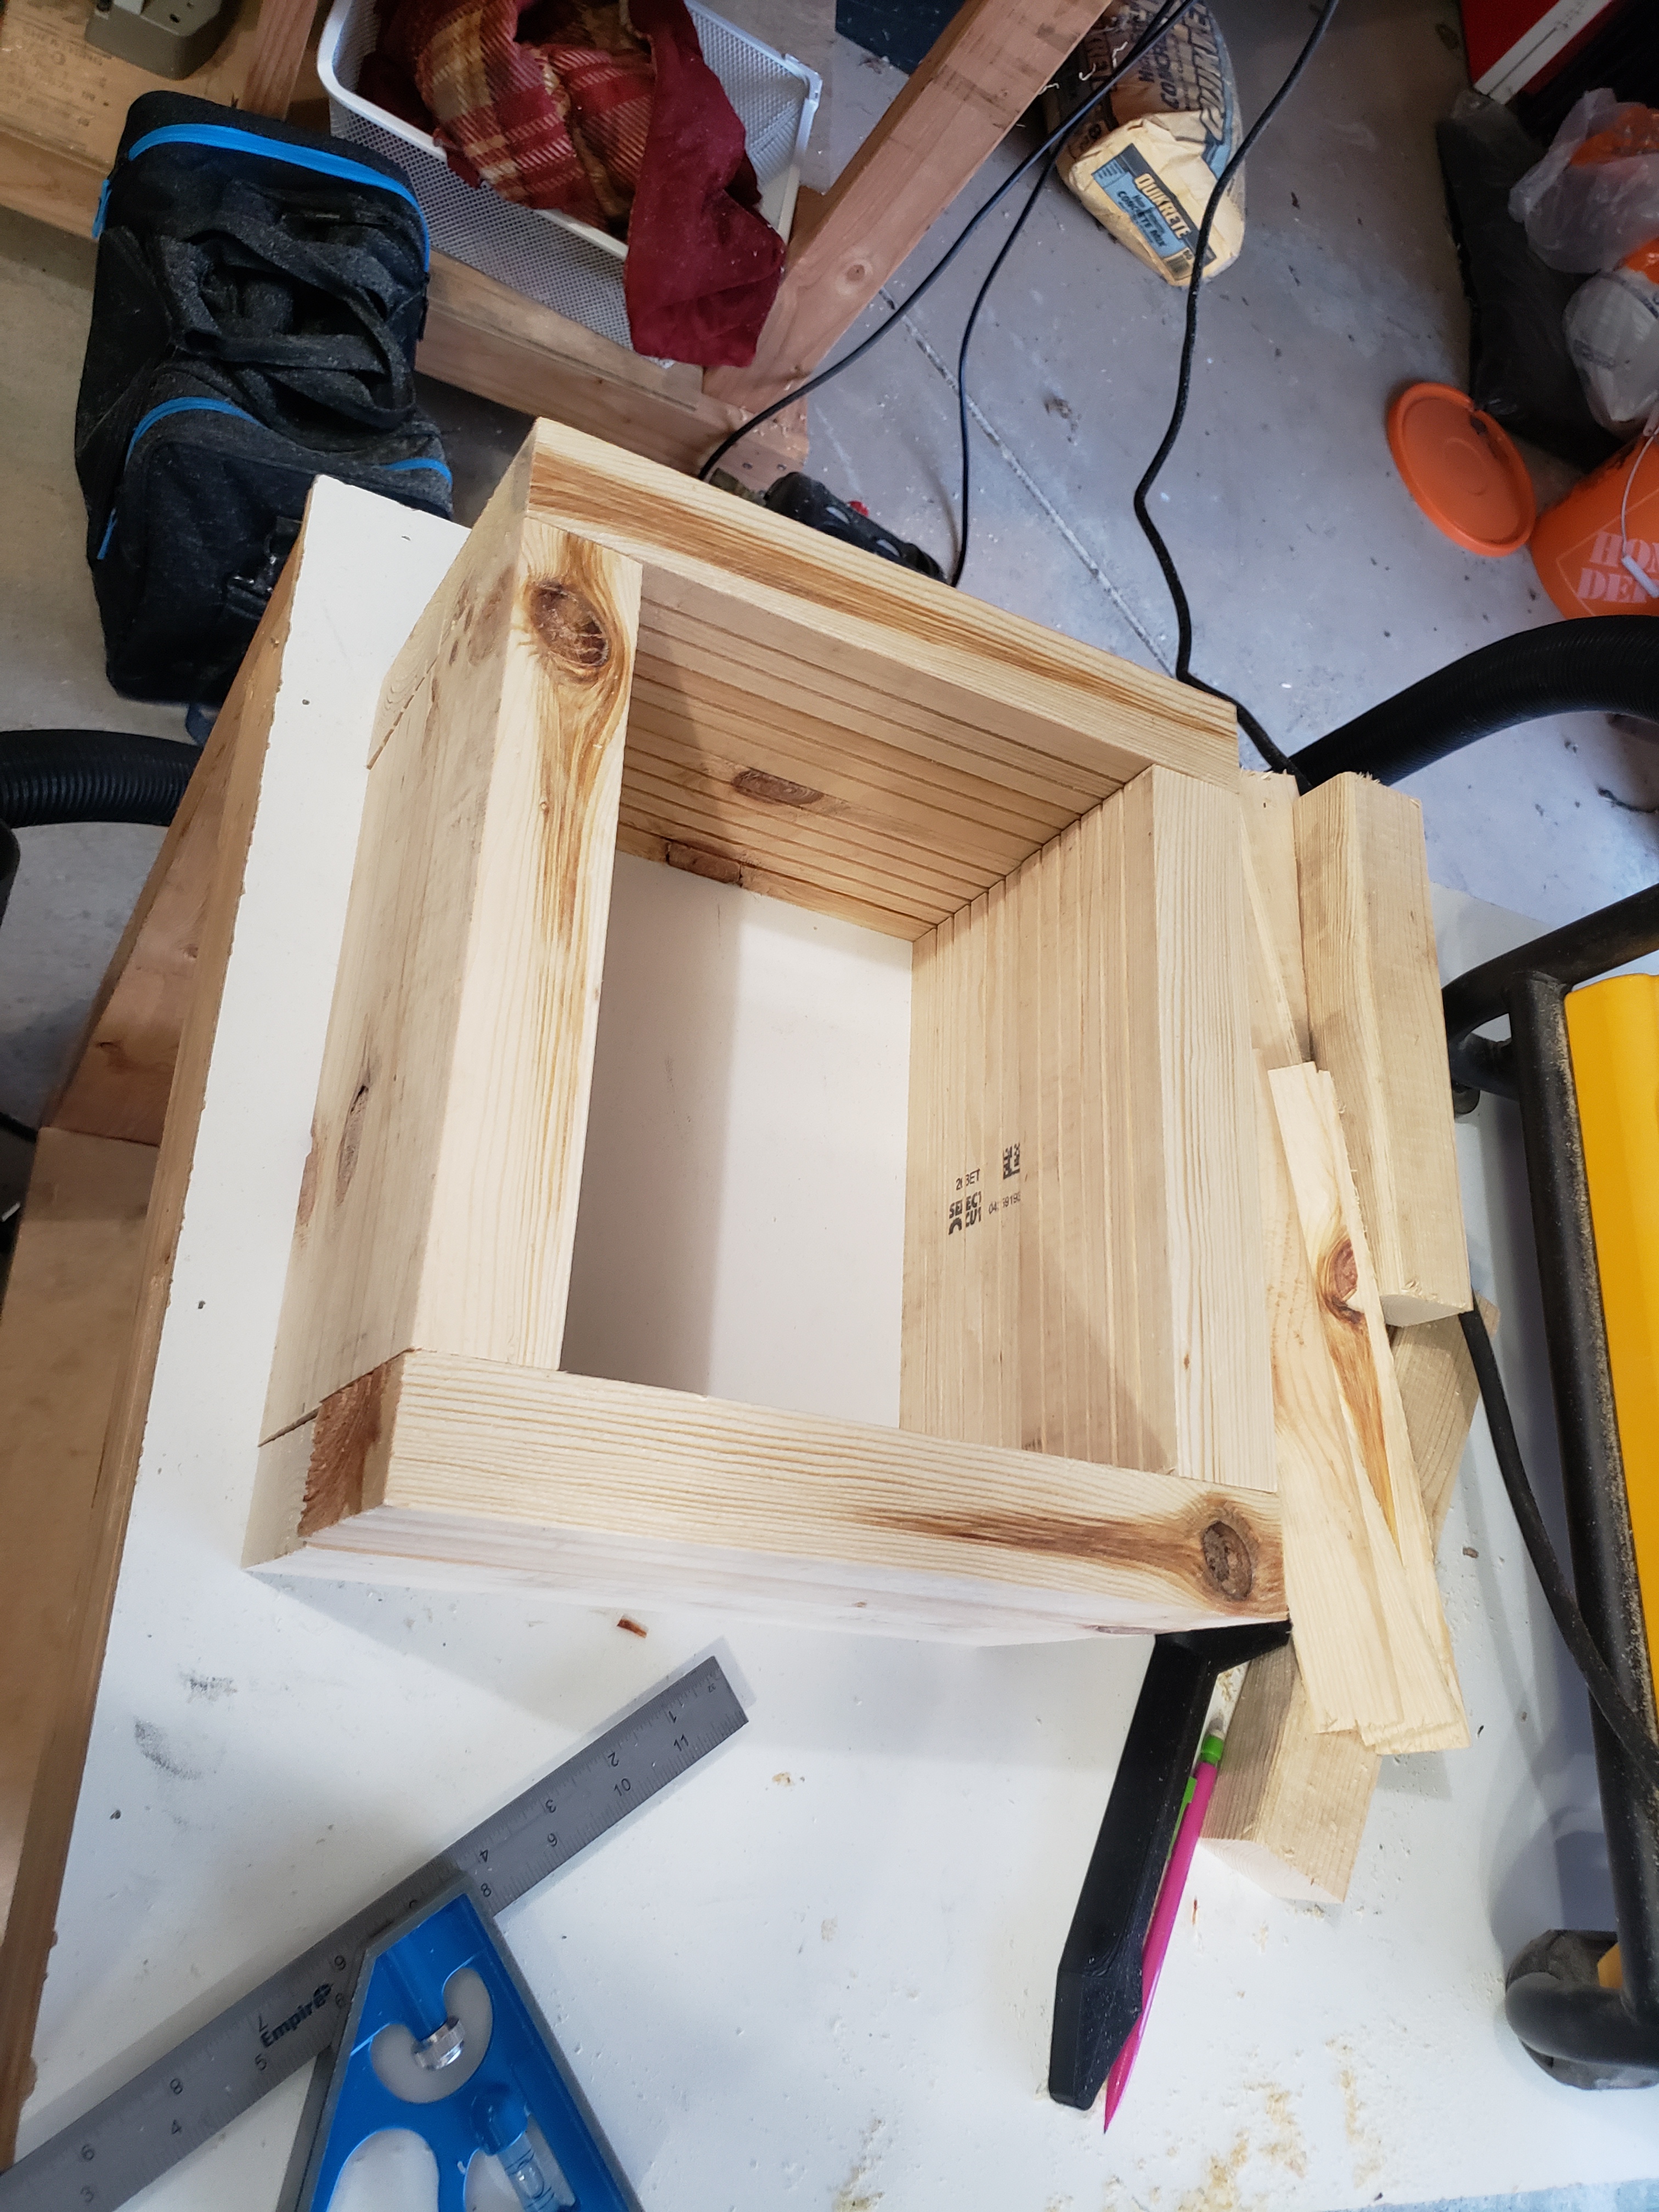
Assembling the Flask
The general construction of the flask wasn’t too bad, the only downside was the fact that the lumber was a bit cupped. I was able to use my table saw to get reasonably straight pieces, however I think a jointer is in my near future. With a jointer, and planer, and the table saw, I can make a lot of twisted and cupped pieces of lumber work.
Once the pieces were cut, I cut small 1/8″ deep channels into each piece. I separated each channel about 1/2″ apart. I’d seen others do this as it supposedly helps the structure of the packed sand, though I’ve seen others do it without the channels with success. So was it needed? Who knows, but I chose to do it anyways.

One thing I struggled with is keeping all the parts aligned. The cope and drag need to be reassembled in the same orientation each time to ensure that when you take the mold out, the cope and drag align to fill the cavity properly.
I glued all the parts together and found out when I reassembled them, they weren’t exactly aligned well. I tried to use my plane to make the interfaces mate up. It worked to some degree, but I think I need a better solution for future flasks.
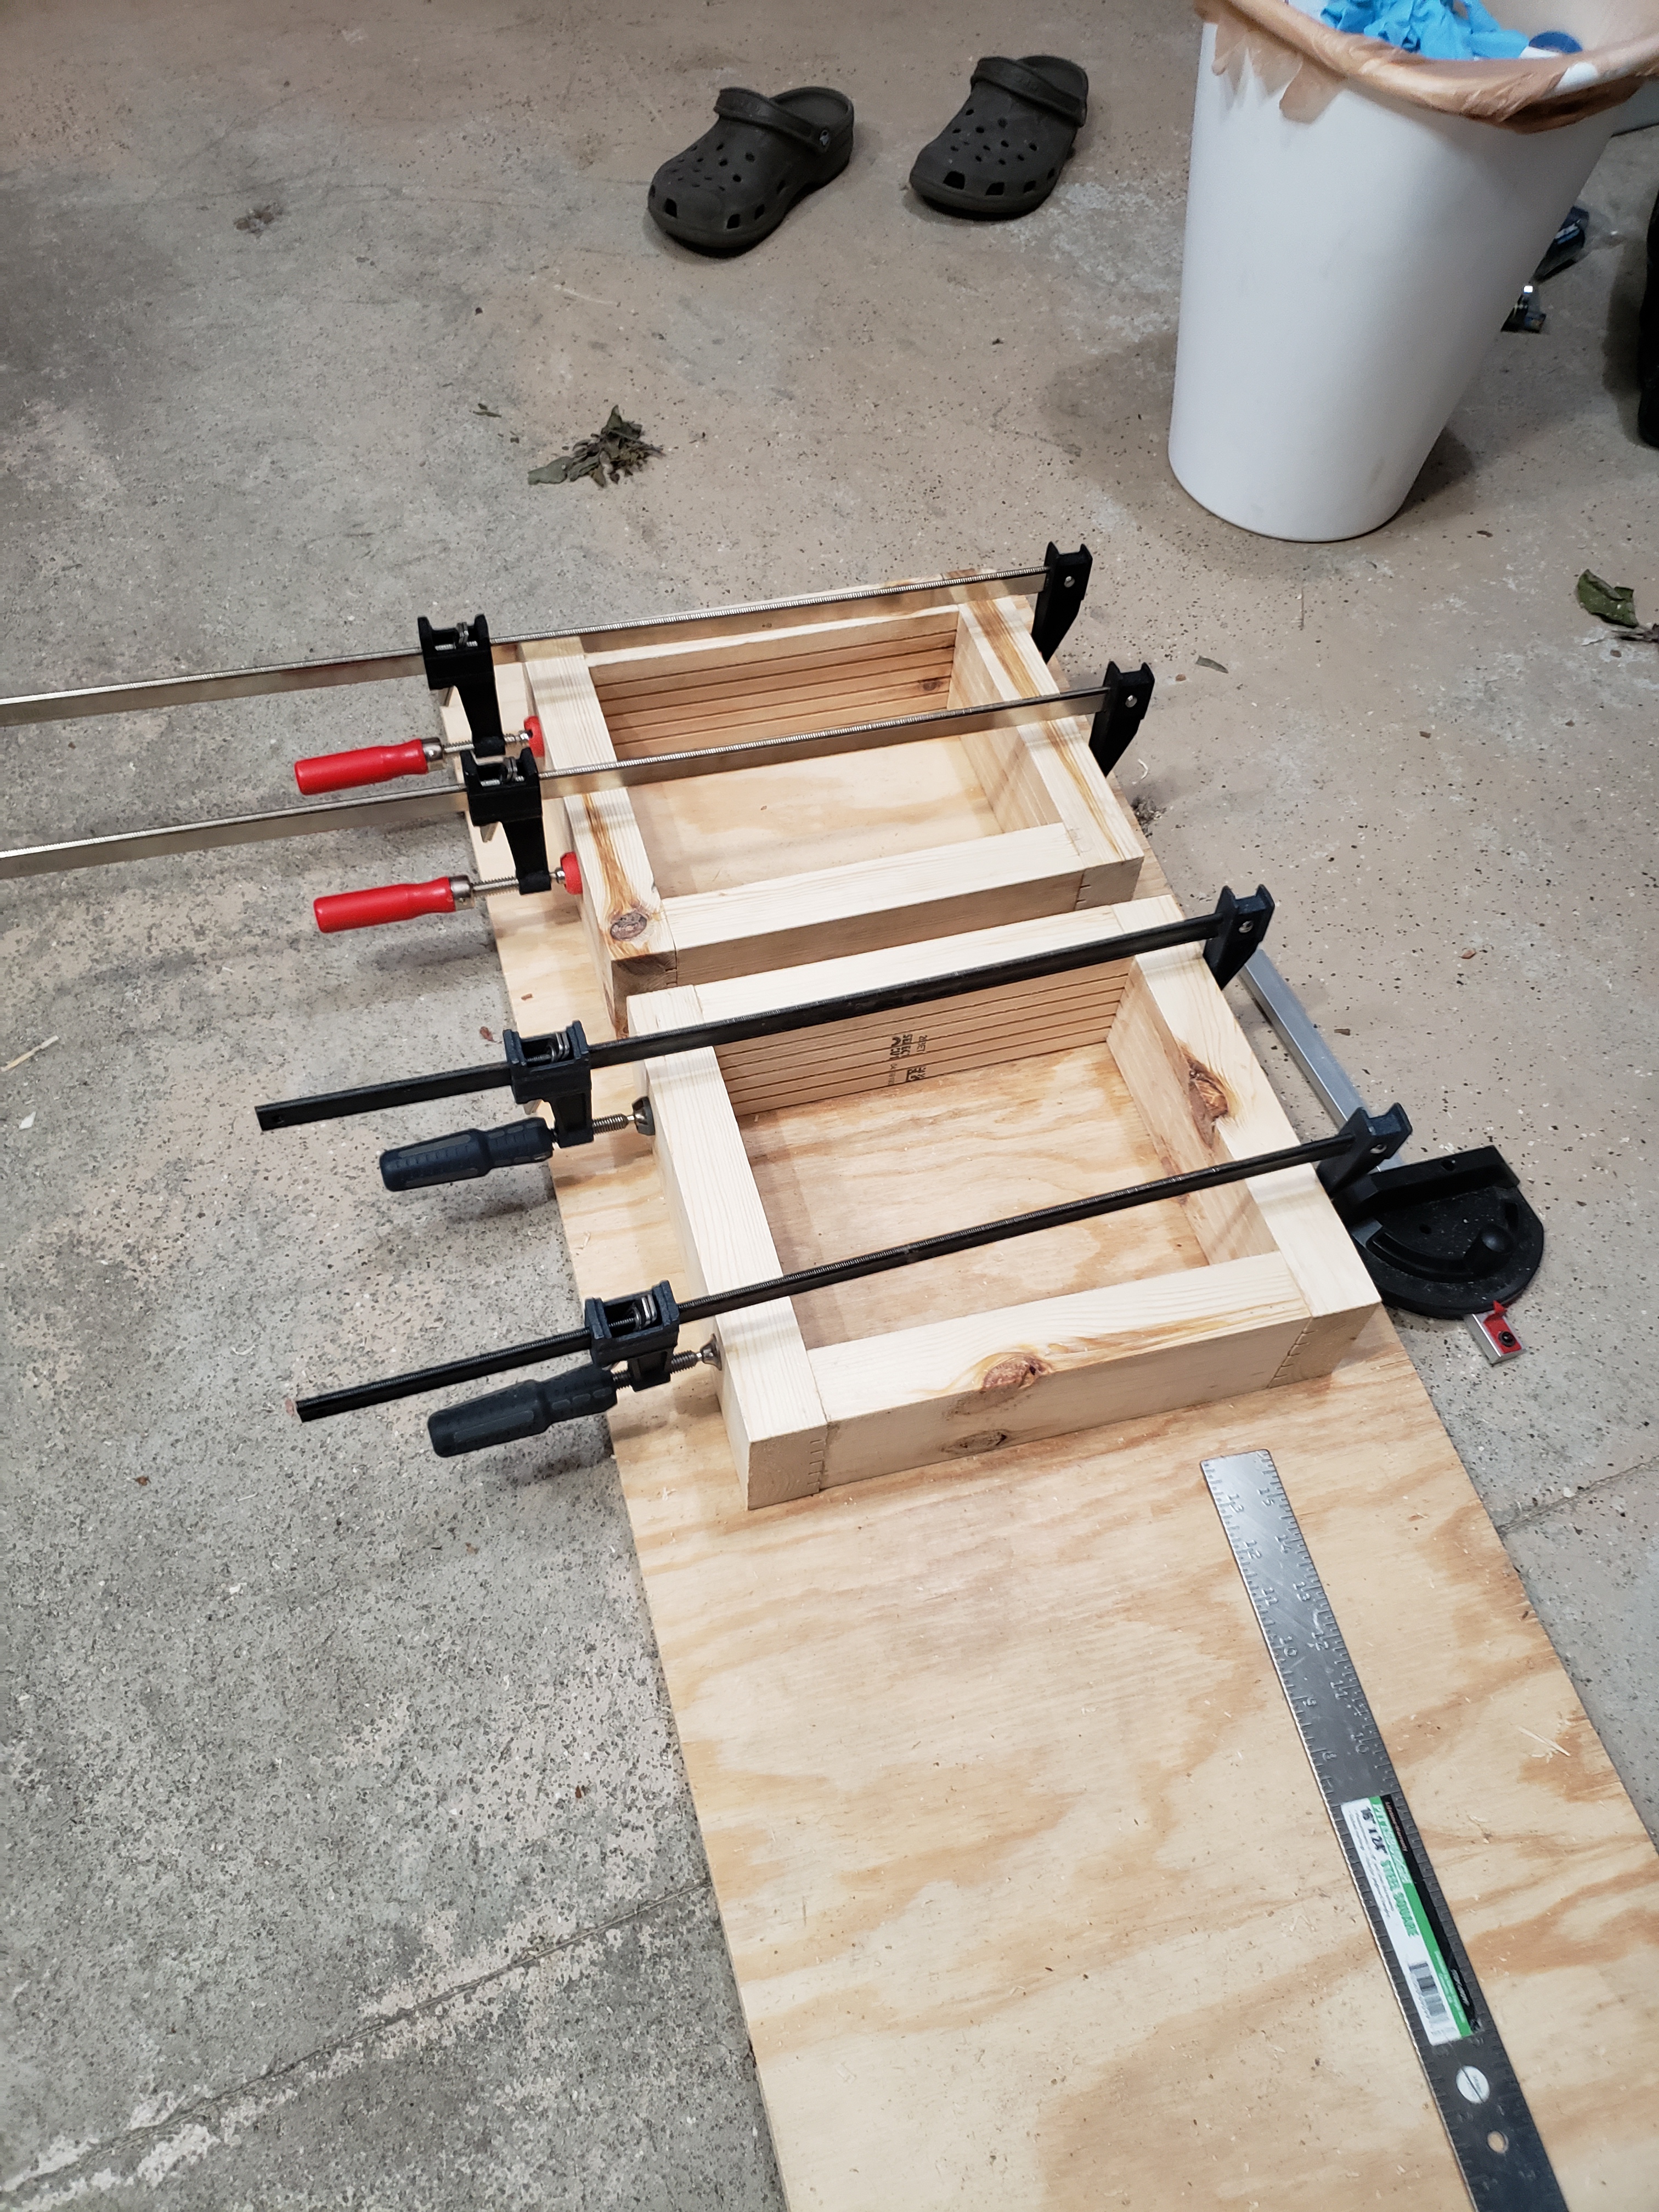
After everything was glued up, I needed some alignment blocks on the ends. I used some of the off cuts from the 2x6s, it ended up working out pretty well.
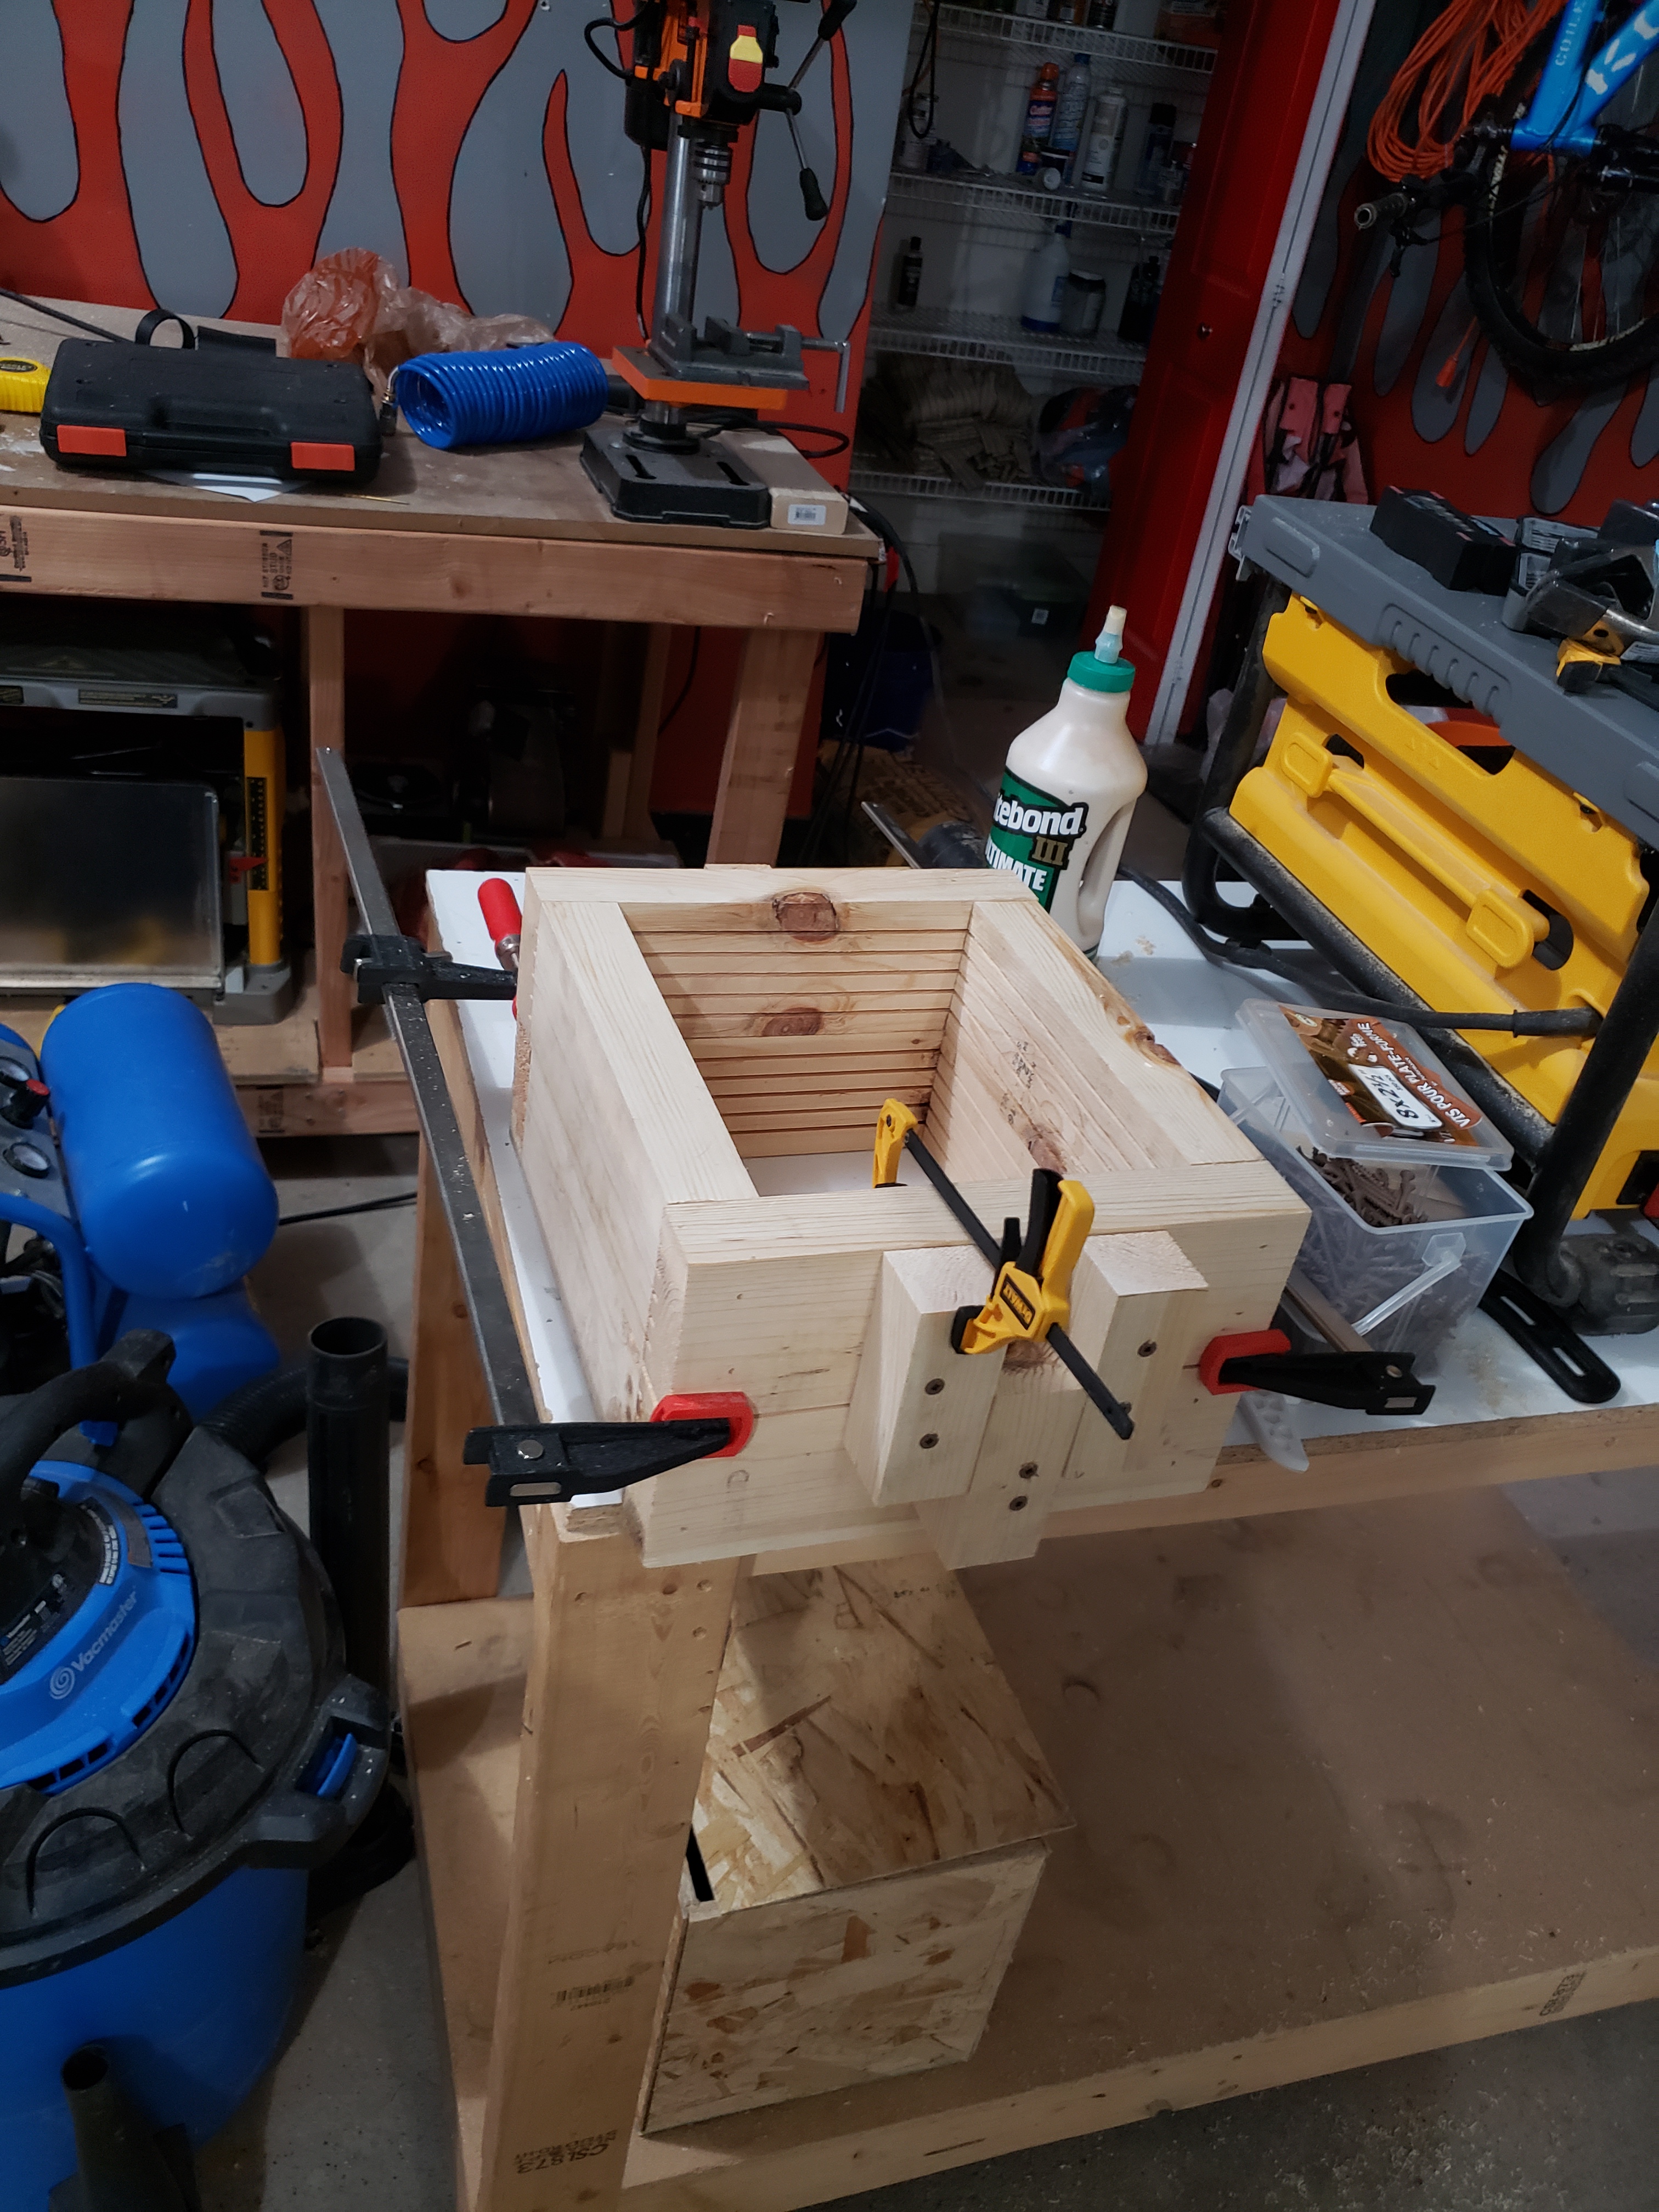
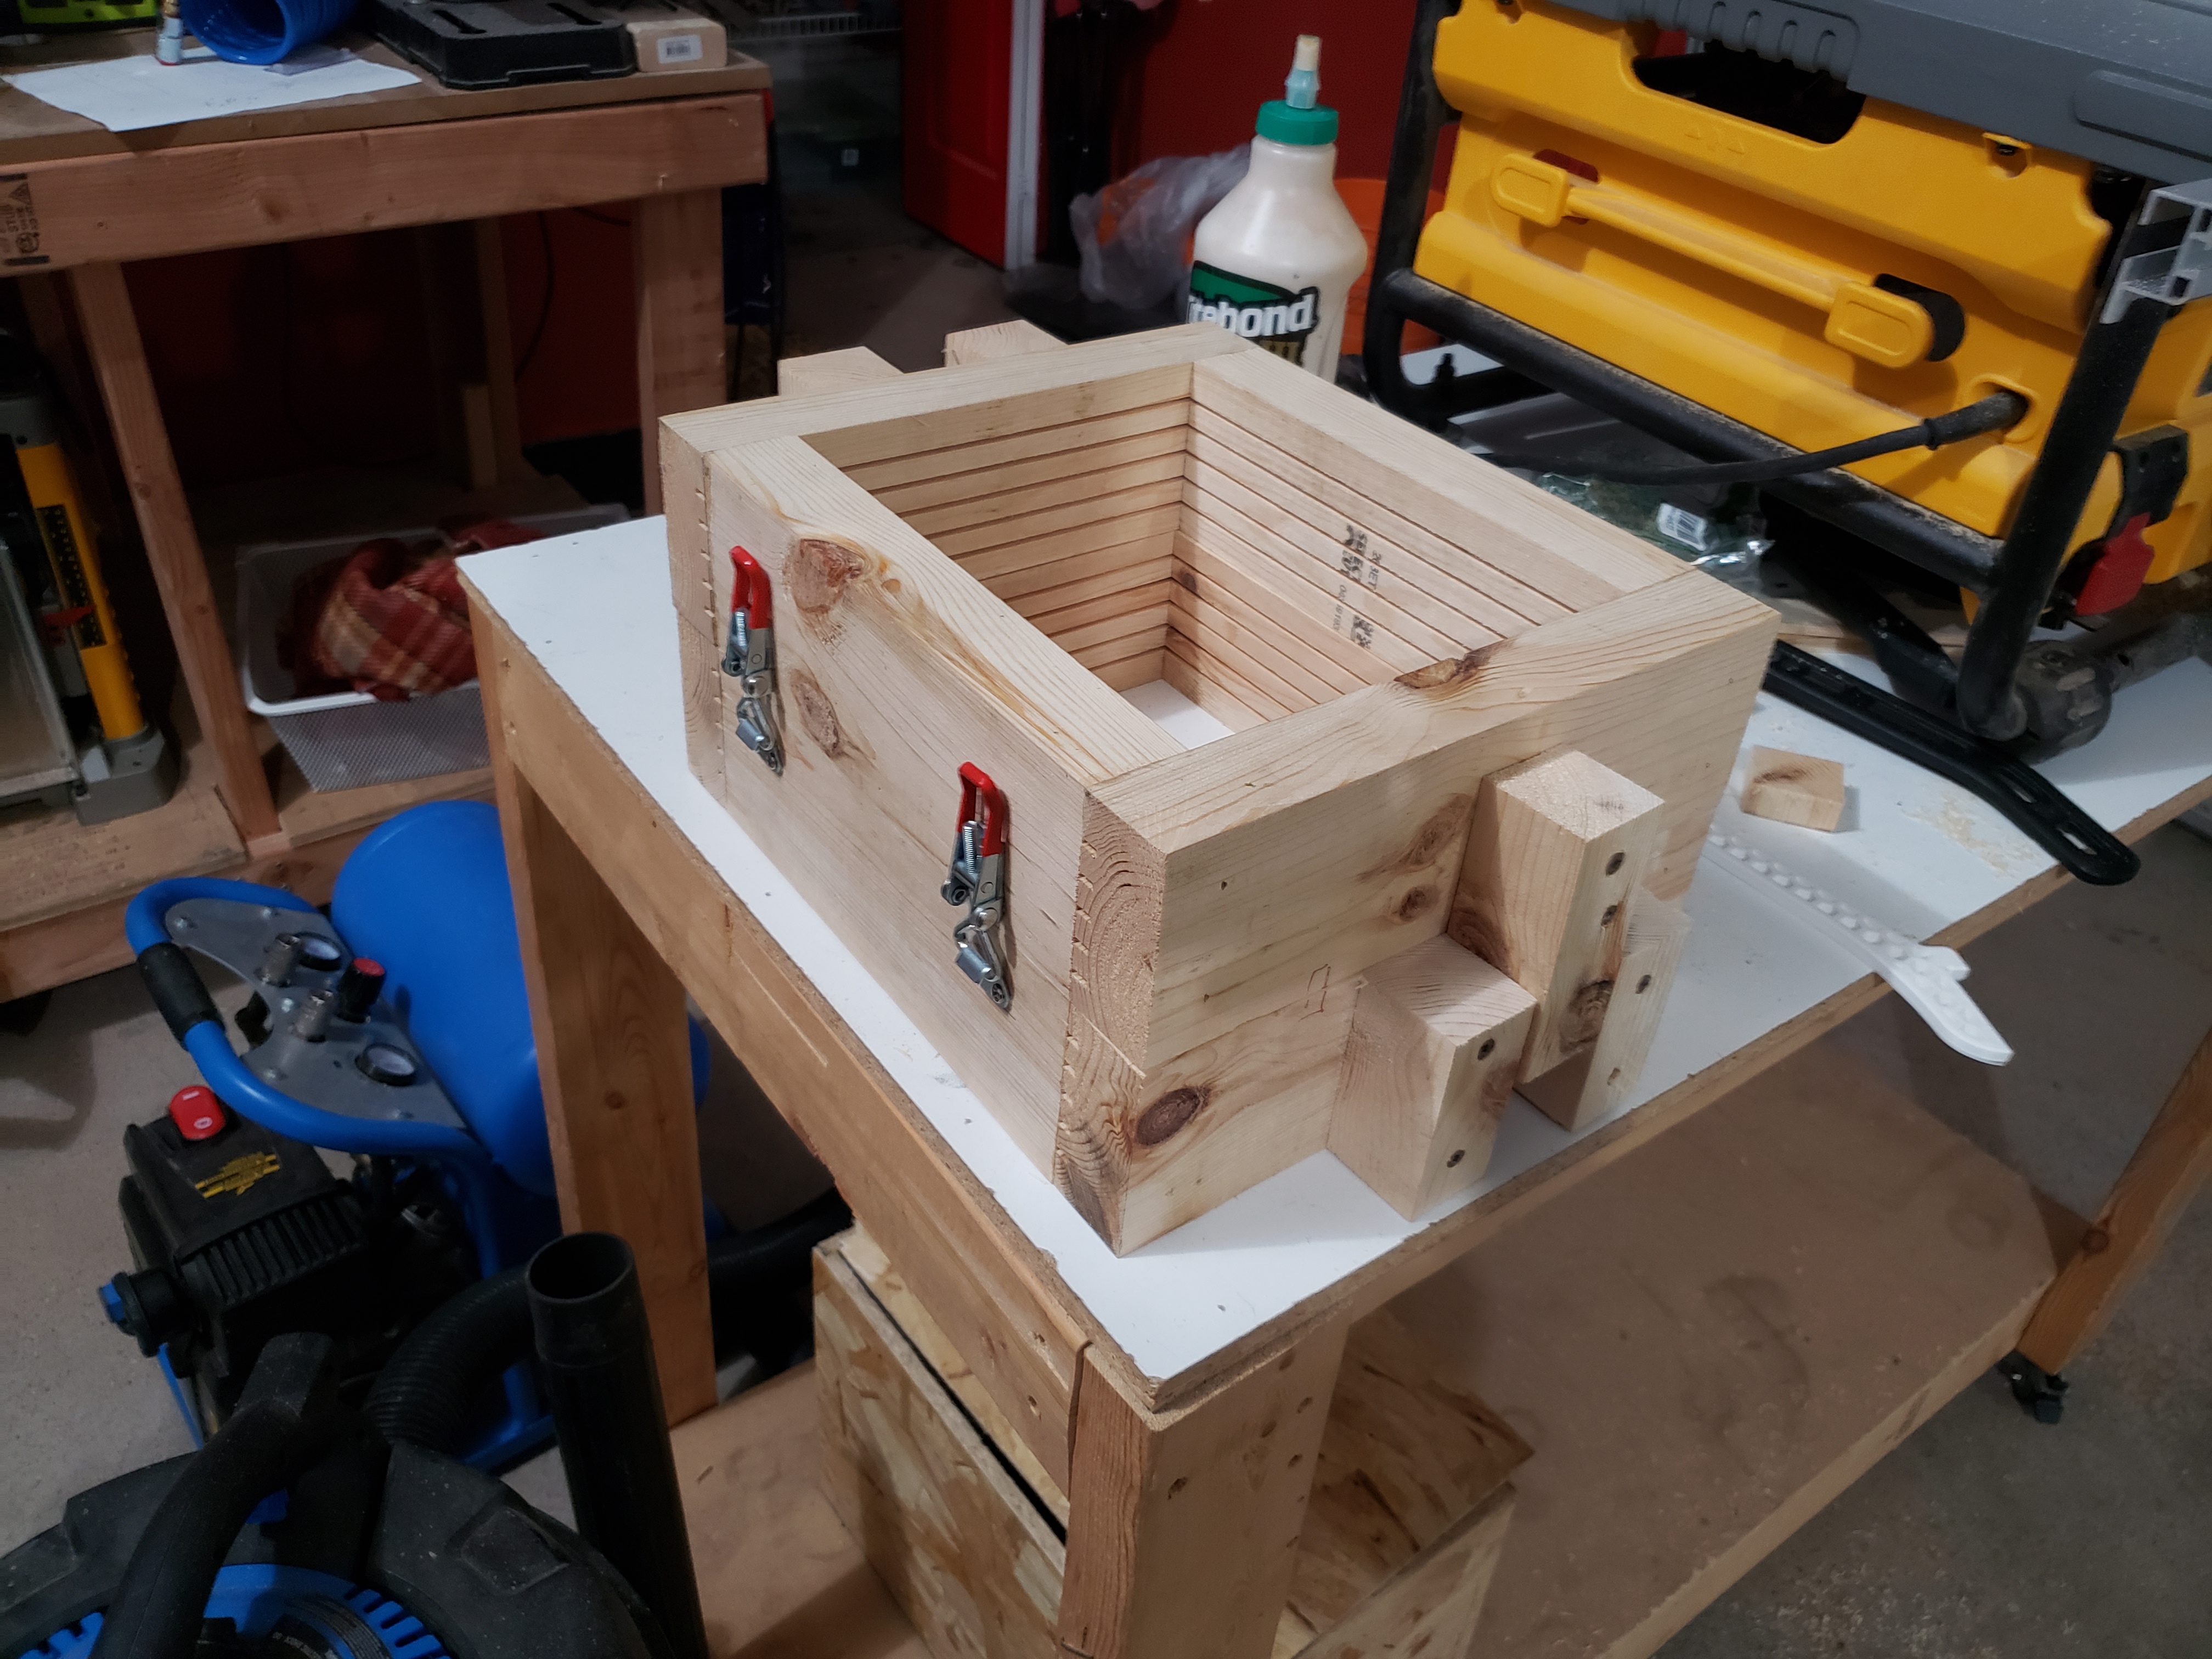
One thing I made a mistake on is the alignment blocks of the drag. What I discovered after getting it together is that the alignment blocks on the drag need to be flush with the mating surface of the drag and cope. This is because the first step of setting up the mold is flipping the drag over and tamping sand around half of the mold. That’s why there are 2 halves of the mold.
Additionally the mating interface between the cope and drag wasn’t exactly flush. I decided to use toggle clamps to help pull the interfaces together a little closer. Again, not sure how well it will work, but we’ll see. It’s all good learning for when I make flask version 2.
Prepping the Mold
Once I had the sand and the parting powder, I was ready to try and pack the sand in the mold. I watched some videos and it seemed pretty straight forward, so there shouldn’t be any issues, right?
Nope, there’s always a first time for everything, and as expected, things didn’t go to plan. Unfortunately I was more focused on the process, I didn’t get the best photos.
To start, I used petrobond sand, which packs really nicely. Only downside is because it’s got an oil binder, it makes a real mess of anything you get it on. It’s best to wear latex gloves when handling this stuff, at least I’ll be doing that with my next packing.
When I packed the drag and striked the sand off, I got pretty good results. the sand was fairly smooth and it seemed to have packed well.
The cope was a bigger challenge. I didn’t get a picture of it, but I tried to use a PVC pipe to construct the sprue. The pipe was too big and kept falling to the side as I tried to pack sand around it. I also tried to use a piece of rebar as a riser. This pres
One thing I found was that I needed to line up the second half of the mold on the drag. One thing I’d seen in casting videos is that after the drag was packed, the two halves of the pattern were glued together, then the cope was packed.
Well, the issue with this is that if the sand packing gets messed up after you separate the cope and the drag, you can’t reuse the mold, it’s glued together.
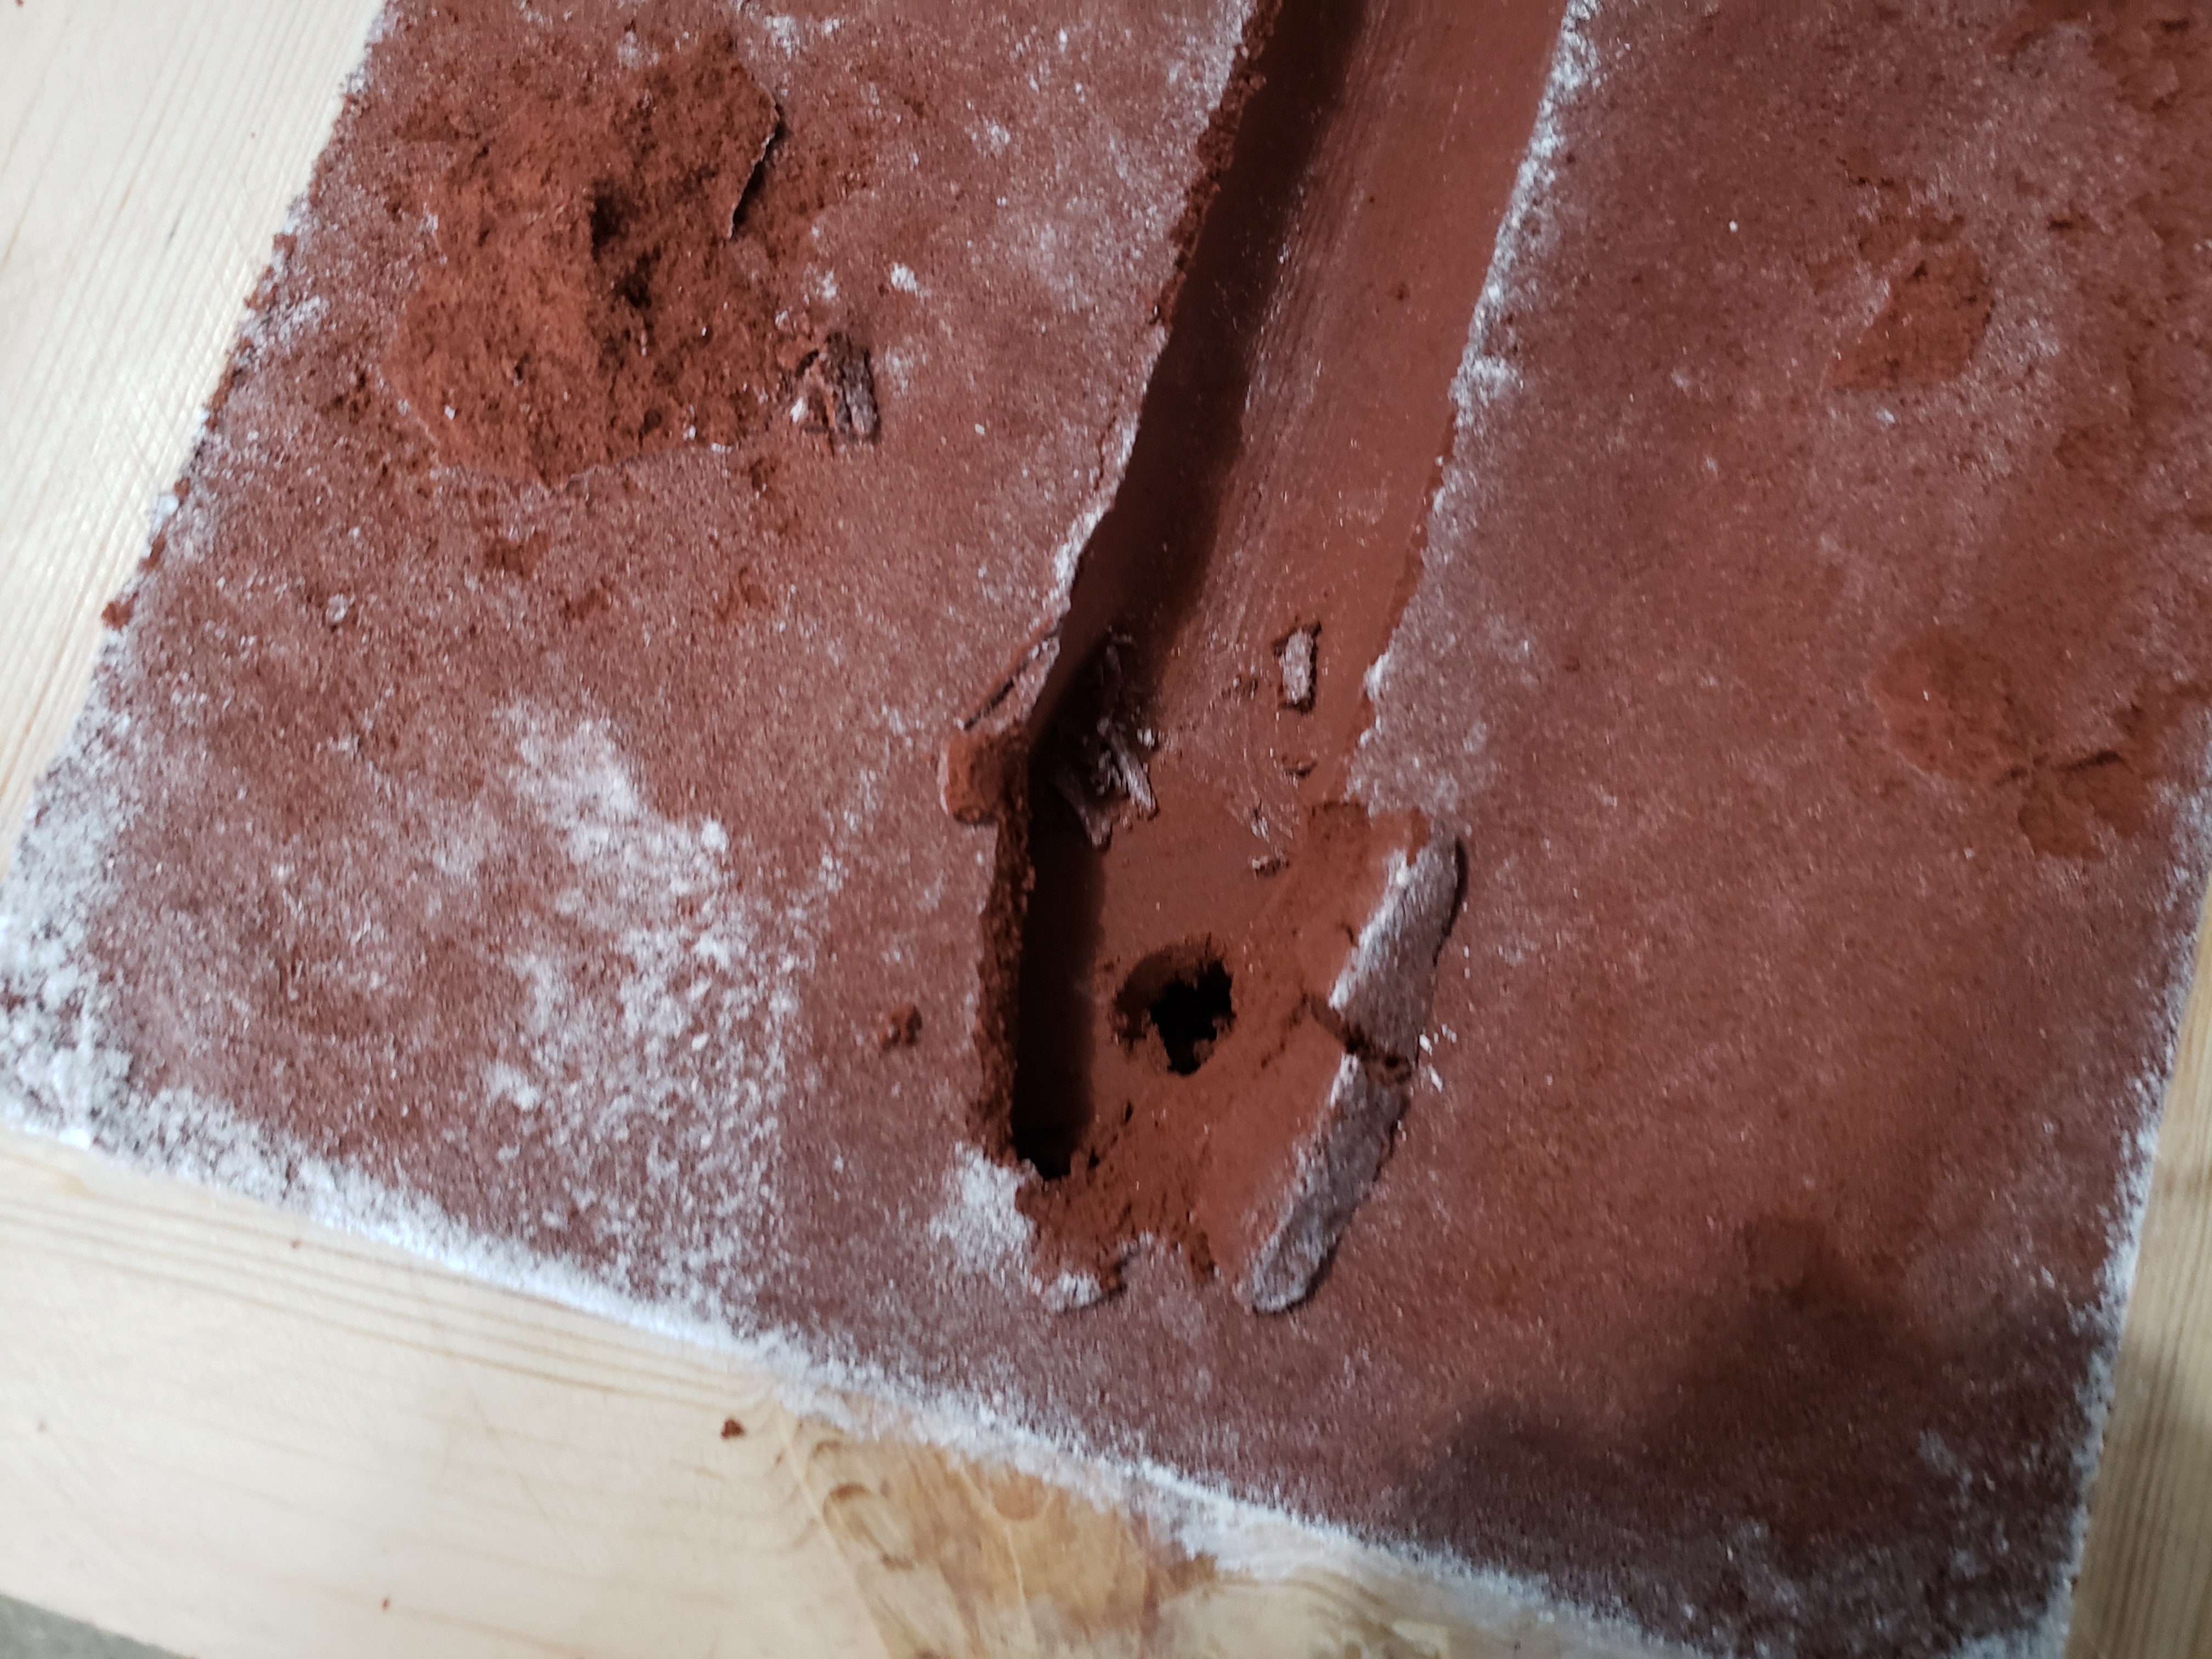
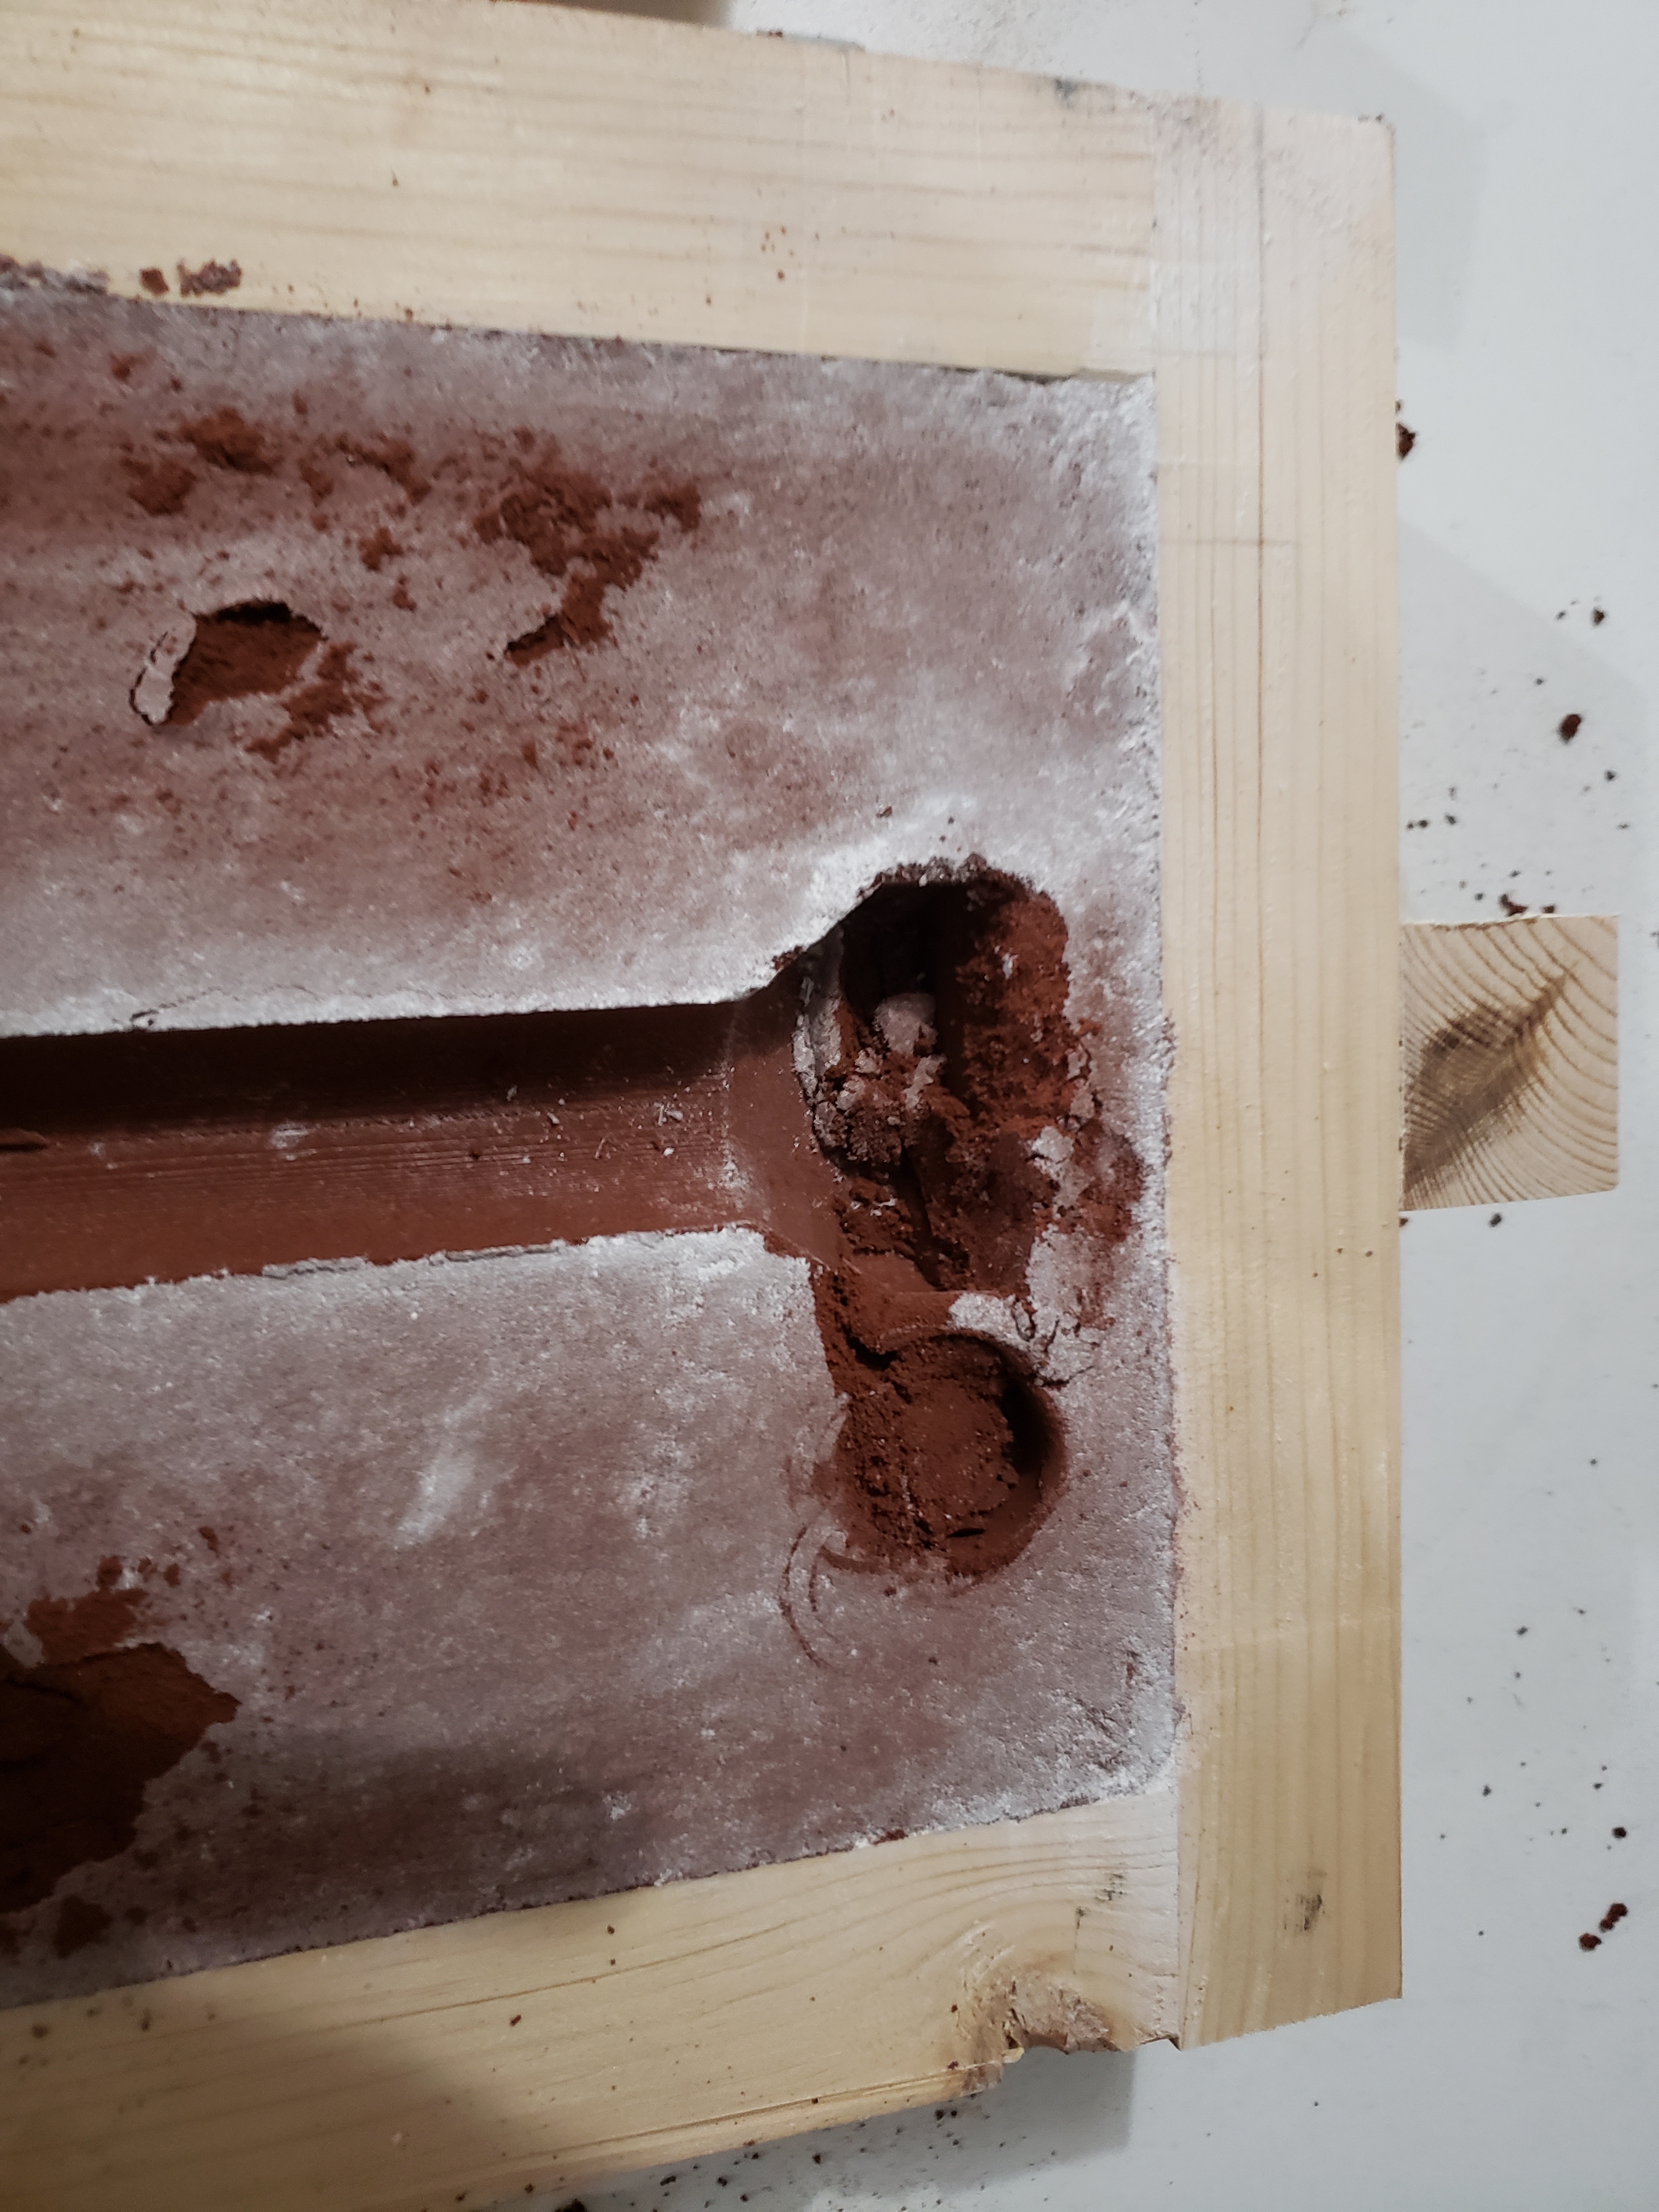
Well, that’s exactly what happened. After packing the drag with some struggling, once I separated the cope and drag, the casting mold got messed up.

I lost some of the form and it wasn’t repairable. If I’d used alignment pins instead of gluing the two halves of the mold together, I could separate the pattern and retry sand packing.
Basically the things I messed up were:
- The sprue was too close to the mold. When I tried to separate the cope and drag there wasn’t enough structure with the sand so it collapsed.
- I was too forceful pulling the cope and drag apart after packing. I need to be careful to keep the forms intact
Unfortunately that’s as far as I got with my session, I need to reprint the form halves and retry packing the cope and drag another night. I’ve learned lots in the process, and in the next entry I hope to actually pour some metal with a good form.
Thanks for reading!
